Brokering a Trade
To broker a trade, click Broker a trade on the landing page or in the top-right corner of the application.
Use the Broker A Trade page to select the assets to be involved in the trade and define the parameters of the trade.
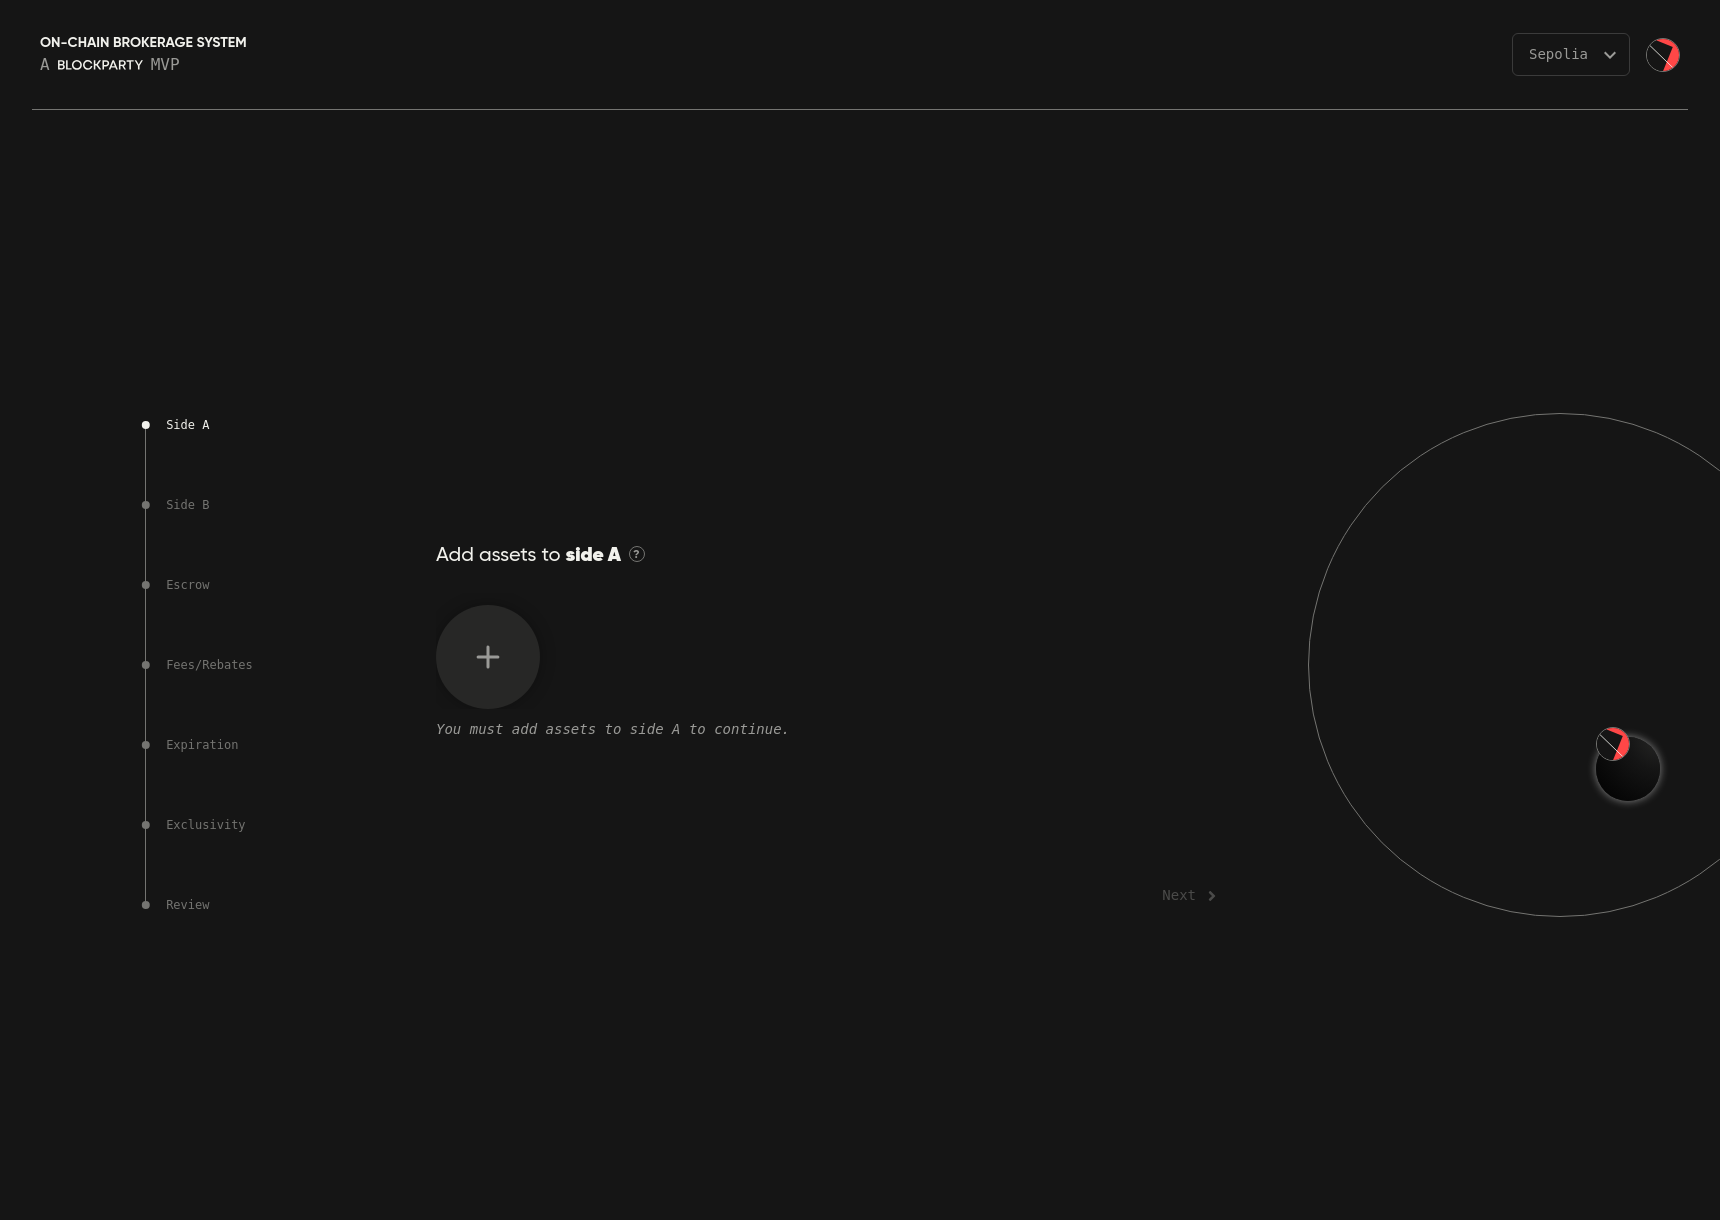
Side A/B
Begin by selecting the assets to place on both side A and side B of the trade. Only one wallet can join each side, so be sure that a single wallet owns (or is capable of coming to own) all the assets specified on each side.
Select the assets to place on each side by clicking the + button and then selecting your desired asset type: NFT, ETH or ERC-20. OBS currently supports only the ERC-721 and ERC-1155 NFT token standards.
To add an NFT to a side of a trade:
-
Select NFT in the asset type selection menu.
-
Use the search box to locate your desired NFT by name or contract address and token ID.
-
Click +Add in the lower right corner of the NFT’s asset tile. This will add it to your selection menu at the bottom of the search box.
-
Repeat steps 2 and 3 for any additional NFTs you want to add to this side of the trade.
-
Click Done to finalize your selection.

To add a native currency such as ETH to a side of a trade:
-
Select ETH from the asset type selection menu.
-
Enter your desired quantity in the input field and then click +Add.
To add an ERC-20 token to a side of a trade:
-
Select ERC-20 from the asset type selection menu.
-
Paste the ERC-20 contract address into the search field, then click +Add.
-
In the input field specify the quantity of the ERC-20 token you want to add and click +Add.
Once you select the asset(s) to be placed on Side A of your trade, click Next > in the lower-right to proceed to Side B. Repeat this process to add asset(s) to Side B, then click Next >.
Escrow
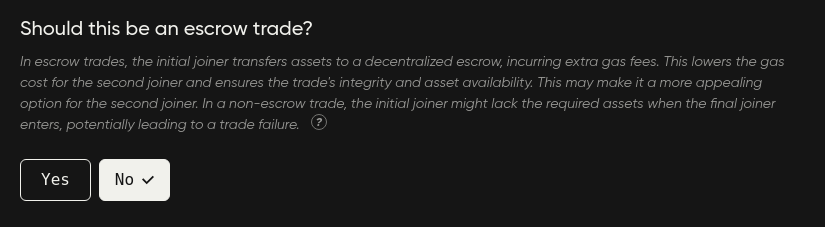
You can opt to require that the first wallet to join your trade transfers its assets to OBS to be held in decentralized escrow. This requirement increases the gas costs required of the first wallet to join the trade (and decreases the gas costs required for the second wallet to join thereafter), but with the first joiner’s assets guaranteed in OBS escrow the second joiner may be more likely to join and execute the trade.
If a trade does not have an escrow requirement, the first wallet to join may no longer have the assets required for the trade to execute by the time the second wallet joins and the trade would fail to execute.
Once you’ve made your selection here, click Next > to proceed to the next step.
Fees & Rebates
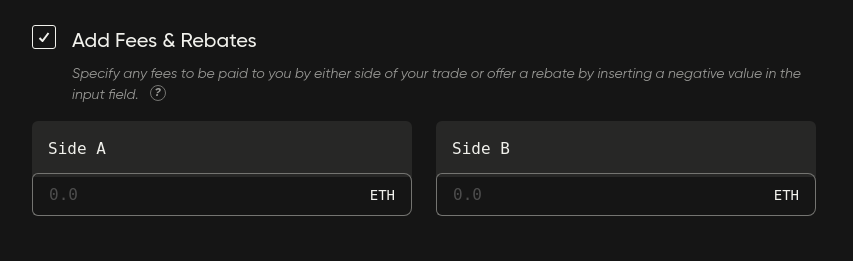
You can opt to define a fee to be paid to you by one or both sides of the trade upon trade execution. The fee that each side of the trade pays you can be set independently, such that only one side of the trade pays you a fee or that one side of the trade pays a higher fee than the other. You can also choose to not collect any fees by unchecking the box next to Add Fees & Rebates or by leaving the input fields empty.
You may apply a rebate to one or both sides of the trade by placing a negative value in an input field. You are required to send rebate values to OBS decentralized escrow upon trade creation. Rebate values are distributed accordingly during trade execution. If you cancel the trade before it executes, the rebate value is returned to your OBS balance.
For example, if you specify a rebate of .02 ETH for Side A and a rebate of .005 ETH for Side B by placing -.02 into the input field for Side A and -.005 into the input field for Side B during this step, you will be required to send a total of .025 ETH to OBS decentralized escrow upon trade creation. If you were to cancel this trade, .025 ETH would be returned to your OBS balance. If this trade were to execute, Side A would receive .02 ETH in its OBS balance and Side B would receive .005 ETH in its OBS balance.
A rebate can serve as an incentive for one or both sides of the trade to join and complete the trade, as a gas cost subsidy, or simply as a generous gift.
Once you’ve made your selection here, click Next > to proceed to the next step.
Expiration
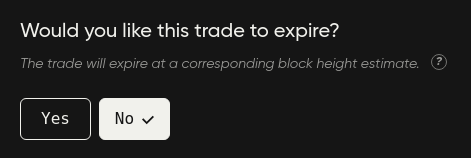
If you want your trade to expire on its own, click Yes and set an expiration date of your choosing. You can select a predetermined expiration interval or choose your own date and time by clicking Custom.
Note that because OBS is 100% on-chain it can only use block height as a trigger for trade expiration. You can specify a date and time at which you’d like your trade to expire and OBS will make its best approximation of what the block height will be at that date and time. Be aware that block times are inconsistent and that OBS can only make its best approximation. Your trade is not guaranteed to expire at the precise date and time you specify.
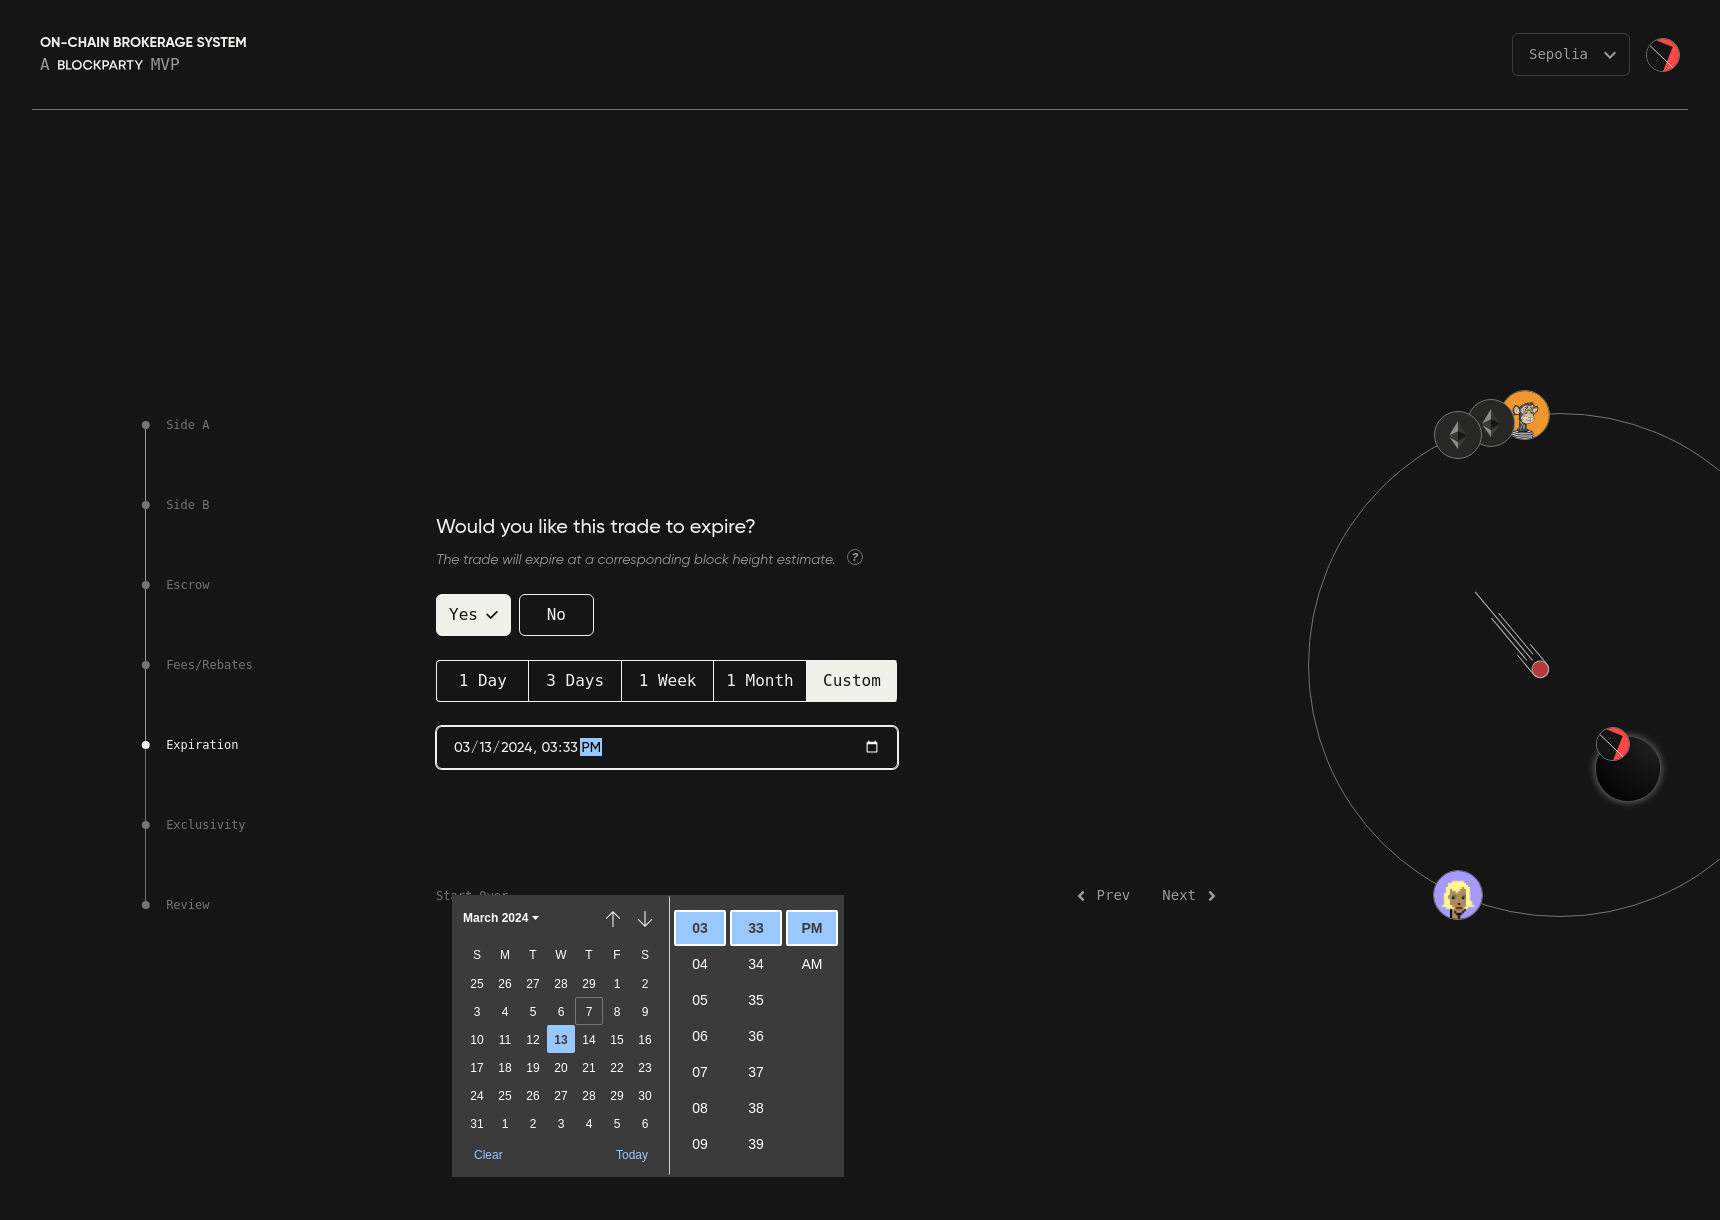
Once you’ve made your selection here, click Next > to proceed to the next step.
Exclusivity
In this step you can specify the wallets you want to be eligible to join your trade.
This feature is particularly useful when at least one side of your trade only has native currency and/or ERC-20 tokens and you intend for the joiners to be certain wallets or from a certain group of wallets. Note that if you choose this option you need to specify at least two wallets: at least one for side A and at least one for side B.
To make your trade exclusive to specific wallets, click Yes, paste a wallet address into the field, then click +Add. Repeat this for each wallet address you want to be eligible to join your trade, being sure to click +Add to finalize each addition as you go.
Once you are happy with your selection, click Next > to review your trade details.
Review
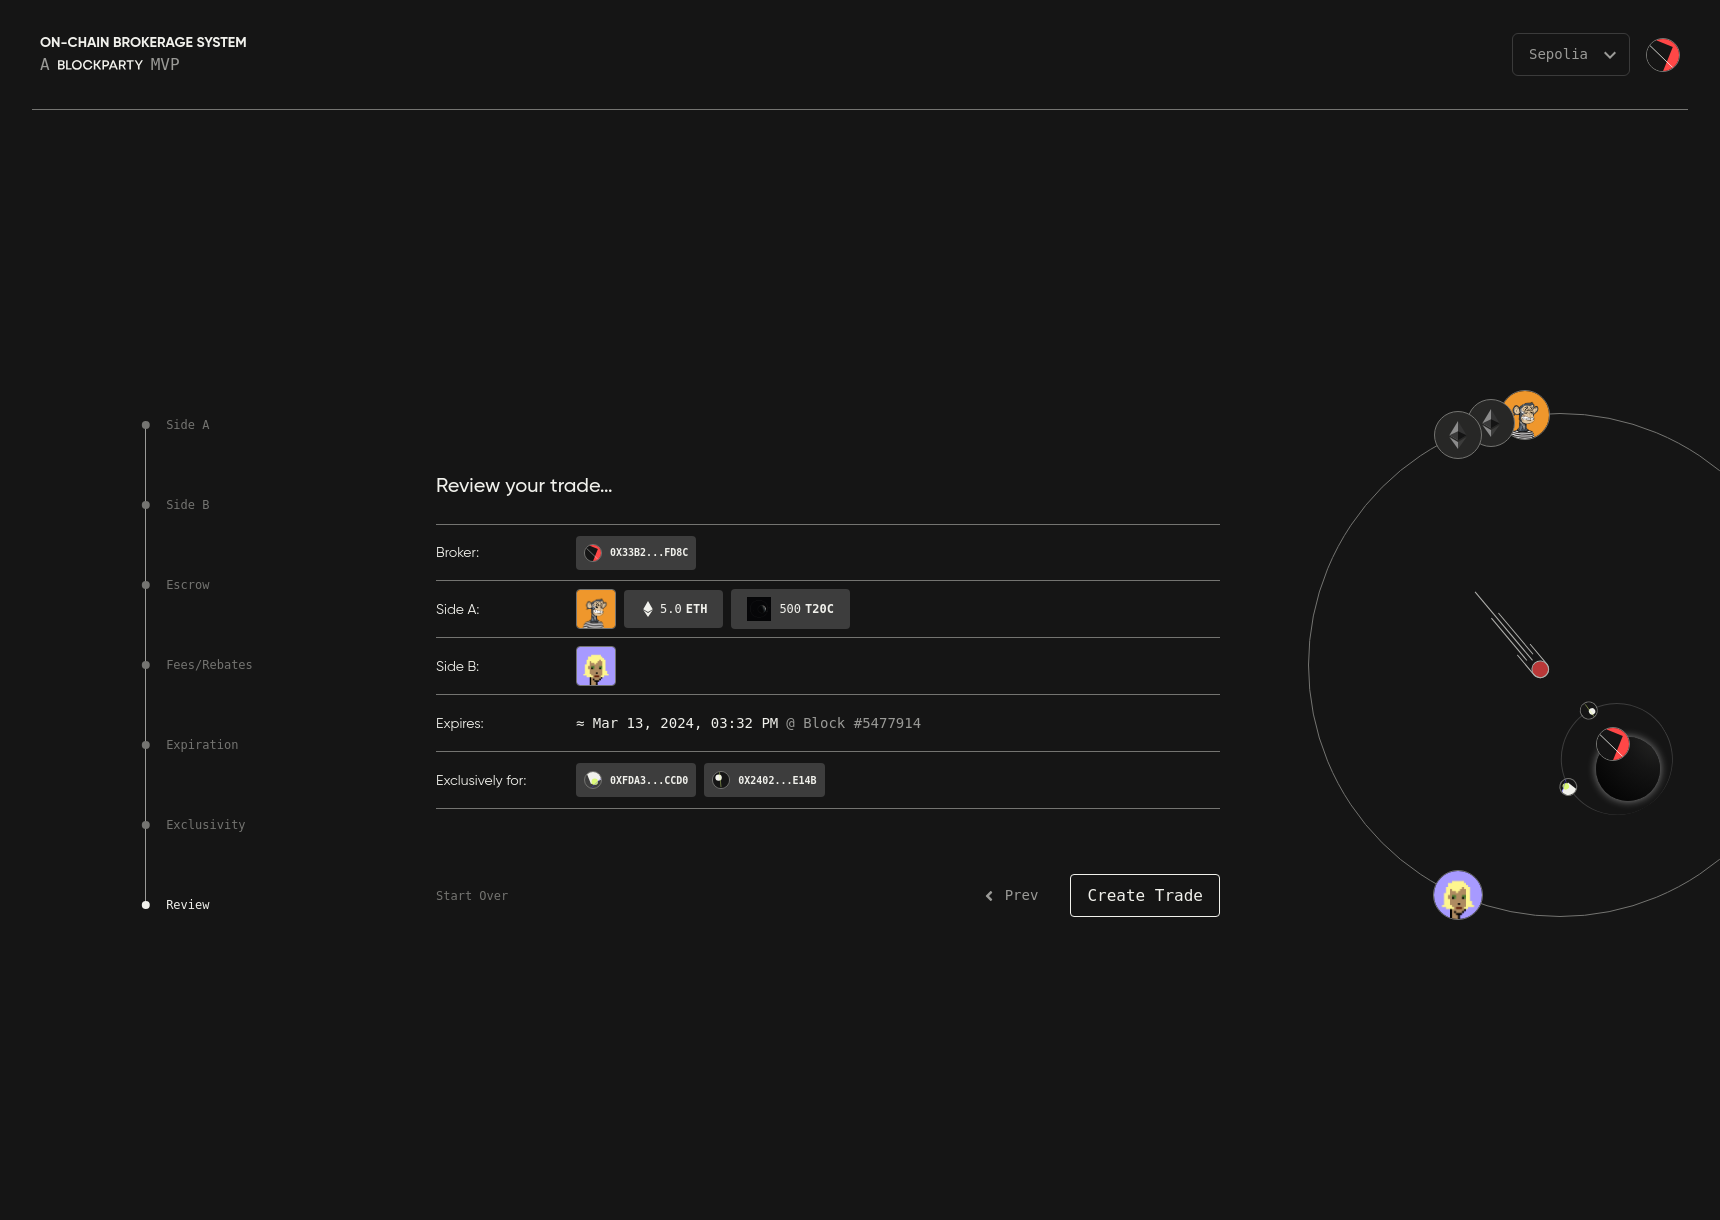
The review step gives you an overview of the assets you placed on both sides of the trade and the parameters you selected. You can go back and make changes by clicking < Prev or using the navbar on the left side.
When you are happy with the trade details, click Create Trade and a Confirm Transactions modal will appear and detail the trade for you one last time.
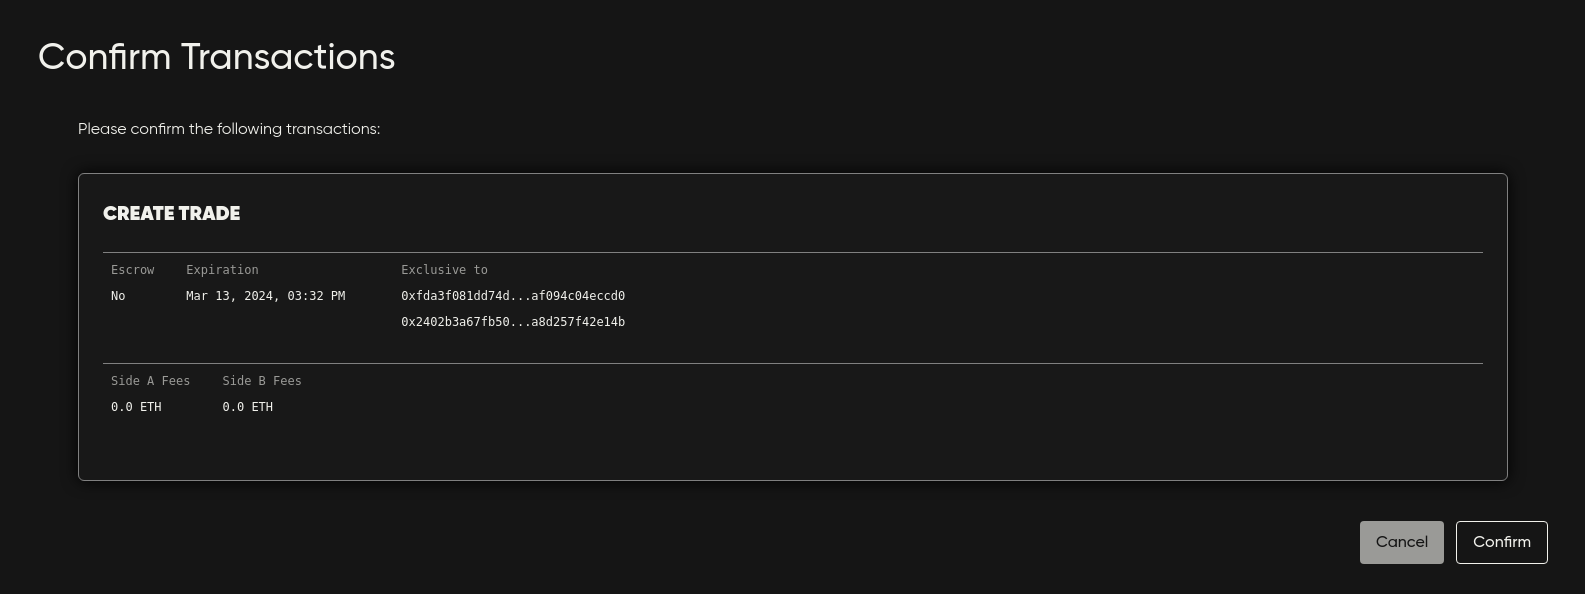
Click Confirm and sign the transaction with your connected wallet. You will see a Creating animation while awaiting confirmation of the transaction.
After the transaction has confirmed you will see a Loading animation followed by a Success! message with a link to view your trade.
Now that you’ve created a trade, let’s find it in your Profile page.